
Master analytics with our guide to the GTM WordPress plugin. Learn installation, dataLayer setup, and how to automate QA for flawless tracking.
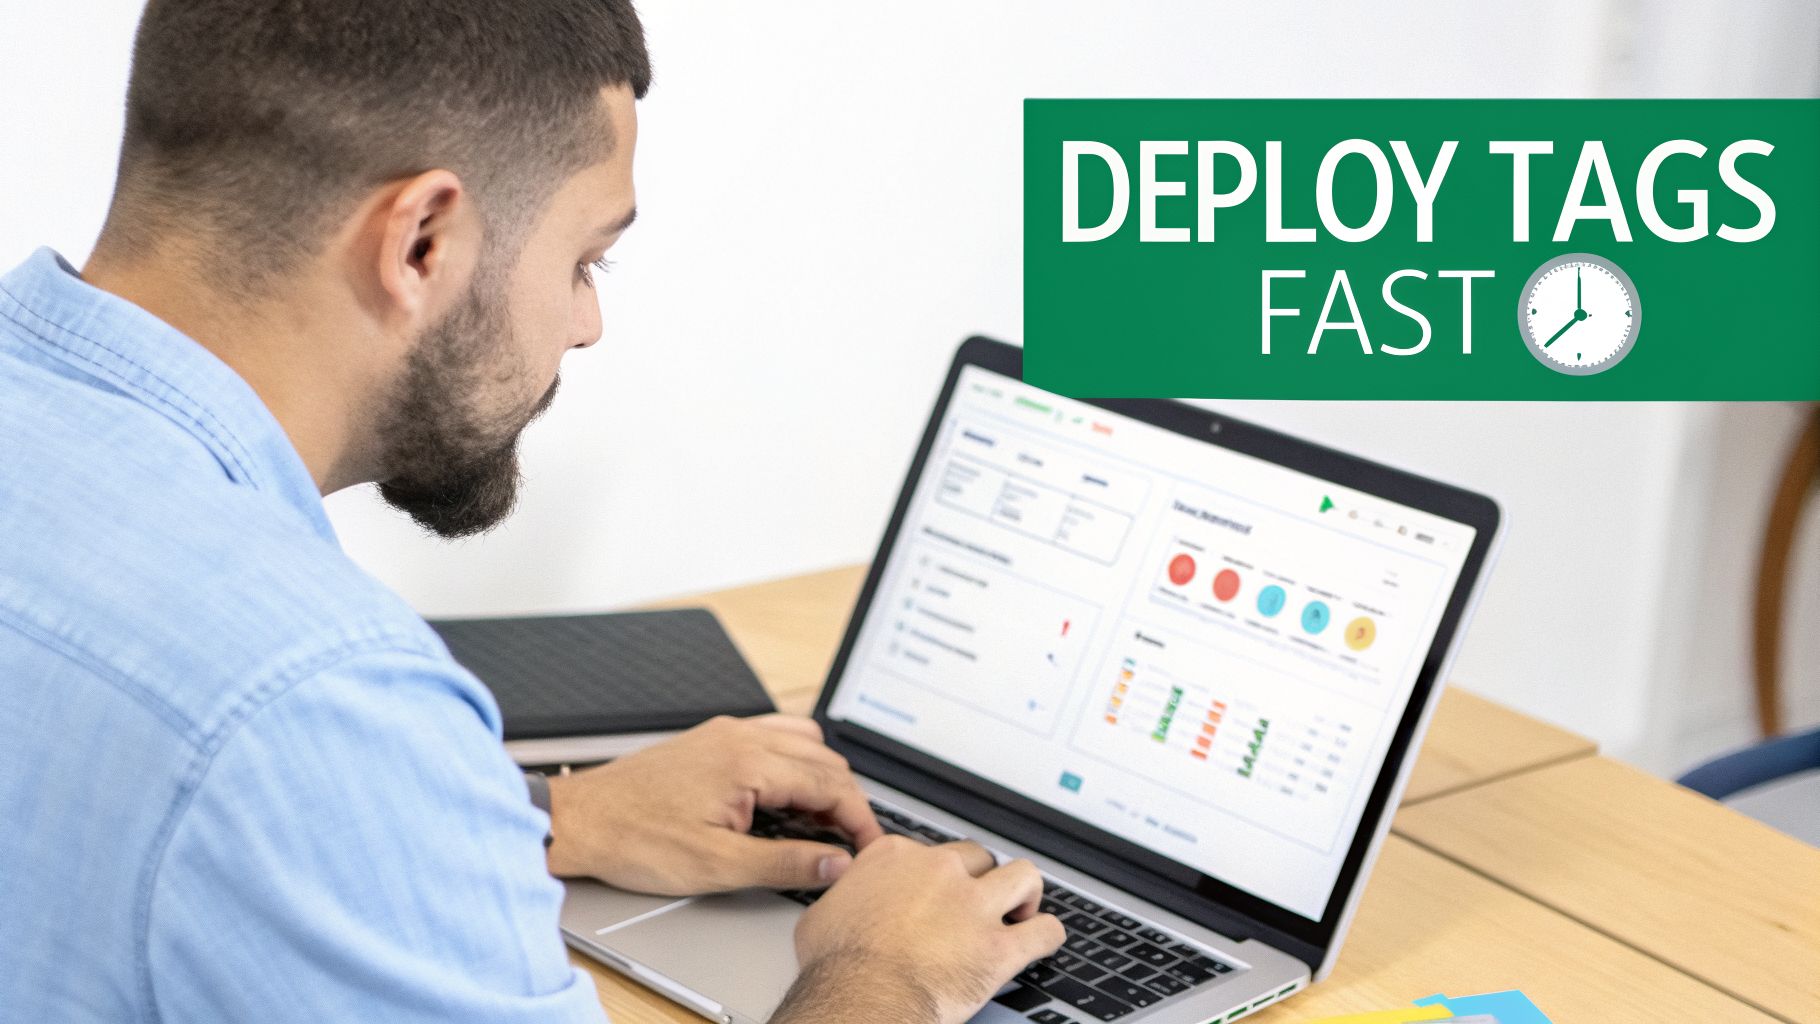
For anyone managing a WordPress site, using a GTM WordPress plugin is the only way to go. It's the standard practice for deploying Google Tag Manager because it lets you handle all your tracking codes without ever touching your theme files. This approach centralizes everything—from Google Analytics to your latest marketing pixels—into one dashboard, giving you more control and letting you move much faster.
Why Your WordPress Site Needs Google Tag Manager
Let's be honest: digging into your WordPress theme’s code to manage analytics and marketing scripts is a risky, outdated method. Every time you need to add a new tracking pixel or update your Google Analytics code, you’re stuck. You either have to edit theme files yourself—and pray you don’t crash the site—or wait around for a developer. That friction kills your marketing agility and creates bottlenecks you just don't need.
A GTM WordPress plugin solves this by acting as a secure bridge between your site and your Google Tag Manager container. Instead of installing dozens of individual scripts, you just install one plugin, connect it to your GTM account, and handle everything else from the GTM interface.
The Problem With Manual Tagging
Manually dropping scripts into your functions.php file or theme header might seem simple at first, but it quickly turns into a complete mess. Just think about a typical e-commerce store running Google Analytics, a Meta Pixel for retargeting, a TikTok pixel for a new campaign, and a heatmap tool. Each one of those scripts adds weight and another thing to manage separately.
This old-school approach leads to several big problems:
- It Slows Down Your Site: All those individual scripts generate multiple HTTP requests, which can seriously hurt your Core Web Vitals and drag down the user experience.
- It Breaks on Theme Updates: Any custom code you add directly to theme files can get wiped out the next time you update your theme. Your tracking could just disappear overnight without any warning.
- It Increases Security Risks: Giving marketers or outside agencies access to your WordPress backend just to add scripts is a major security red flag.
- It Lacks Flexibility: You're stuck with basic implementations. You can't easily set rules for when specific tags should fire, like only on "thank you" pages or after a user clicks a certain button.
To put it simply, take a look at how the two methods stack up.
Manual Tagging Vs. A GTM WordPress Plugin
| Feature | Manual Implementation | GTM WordPress Plugin |
|---|---|---|
| Site Performance | Multiple scripts can slow down load times. | Asynchronous loading minimizes performance impact. |
| Maintenance | Scripts can be lost during theme updates. | Centralized management, unaffected by theme changes. |
| Security | Requires backend access for marketers, increasing risk. | No backend access needed to manage tags. |
| Agility | Dependent on developers for changes. | Marketers can deploy and update tags independently. |
| Flexibility | Limited to basic, sitewide tag firing. | Advanced triggers, variables, and version control. |
Using a plugin is a clear winner for anyone who values speed, security, and control.
The Strategic Shift To Tag Management
Switching to a GTM WordPress plugin isn't just a technical fix; it's a strategic move to decouple your website’s core functionality from your marketing operations. This separation is fundamental for any modern business that needs to act on data quickly.
This shift empowers marketing teams to launch campaigns and track performance independently. Imagine deploying a new retargeting pixel for a flash sale in minutes, not days, without ever needing to submit a developer ticket. That’s the freedom GTM provides.
The adoption numbers speak for themselves. Over 291,770 live websites are powered by the Google Tag Manager for WordPress plugin, making it a cornerstone for analytics setups worldwide. In the United States alone, 126,246 sites rely on it to manage their tags without code headaches. This is where tools like Trackingplan come in, automatically spotting issues across your GTM setups in real-time. It ensures your data flows perfectly to Google Analytics and ad platforms, saving you from endless manual audits.
Of course, before you jump into installing a plugin, you need a solid grasp of what Google Tag Manager actually is and how it fits into your overall strategy. If you're new to the concept, this guide is a great place to start: What Is GTM? A Guide to Strategy and Tag Management. It will give you the foundation you need for everything we'll cover next.
Choosing And Installing Your GTM WordPress Plugin
If you’ve ever browsed the WordPress repository, you know the sheer number of options for any given task can be dizzying. Choosing a GTM WordPress plugin is no different. While many plugins exist, they aren't all created equal. Some offer just the bare minimum, while others are packed with features that can scale with your analytics ambitions.
For most projects, the choice is pretty clear: GTM4WP by Thomas Geiger. This plugin has rightfully become the industry standard. It boasts over 800,000 active installations and top-tier ratings, but those numbers only scratch the surface. Its real power comes from its deep integration capabilities, especially with platforms like WooCommerce, and its fantastic support for the dataLayer. This makes tracking complex user actions, like add_to_cart events or form submissions, incredibly straightforward.
Your First Steps With GTM4WP
Before you jump into WordPress, you need a Google Tag Manager account and a container ready for your website. If you've already handled this, you're one step ahead. If not, pop over to the Google Tag Manager website, create an account, and set up a new "Web" container for your site.
Once your container is created, Google gives you a Container ID that looks like GTM-XXXXXXX. This ID is the critical link between your WordPress site and your GTM account. Go ahead and copy it—you'll need it in just a minute.
With your ID ready, head back to your WordPress dashboard.
- Navigate to Plugins > Add New.
- In the search bar, type "GTM4WP" or "Google Tag Manager for WordPress".
- Find the plugin by Thomas Geiger, click Install Now, and then Activate.
This initial setup only takes a few minutes, but taking the time to configure it correctly is what will really unlock its potential.
Configuring The Plugin In WordPress
Once activated, you’ll spot a new "Google Tag Manager" option under your WordPress "Settings" menu. This is your command center. The first thing you need to do is paste your Container ID into the "Google Tag Manager ID" field and hit save.
This is the main settings screen for the GTM4WP plugin, where you'll input your container ID to connect your site.
The interface is clean and simple, letting you enable the core script with just a few clicks.
Honestly, that's all it takes to get the GTM container script loading on your site. But the plugin can do so much more. You'll notice tabs for "Integrations," "Advanced," and "Consent," which unlock powerful tracking features without you having to write a single line of custom code. We’ll get into those advanced setups in the next section.
Beyond Google Tag Manager, enhancing your site often involves integrating other tools. For a broader look at valuable additions to your toolkit, you can explore the 12 Top Plugins for Every WordPress Website.
Confirming A Successful Installation
How do you actually know if it’s working? Never just assume things are running smoothly. Caching plugins or aggressive server-side caching are notorious for preventing the GTM script from loading for your visitors.
A simple check can save you from weeks of missing data. Always verify your installation immediately after setup. It's a five-minute task that prevents major headaches down the road.
The quickest way to confirm the installation is by using your browser's developer tools.
- Open your website in a fresh incognito window (this helps bypass most caches).
- Right-click anywhere on the page and select Inspect or Inspect Element.
- Head to the Console tab. Look for any red JavaScript errors—they can block GTM from running and need to be investigated.
- Next, switch over to the Sources tab. Find the
googletagmanager.comsource. If you seegtm.jslisted with your Container ID, you’re good to go. The script is installed.
Another great method is to use GTM's own Preview mode. Inside your Google Tag Manager container, click the "Preview" button, type in your website URL, and connect. If the "Tag Assistant" window pops up and shows a "Connected" status, your plugin is configured perfectly. This confirms your GTM WordPress plugin has made a solid connection, paving the way for more advanced event tracking.
Configuring Essential And Advanced Tracking Events
Alright, you've got your GTM container hooked up to WordPress with a plugin. That's a great first step, but the real work starts now. Out of the box, you’re likely only tracking basic pageviews. To get the kind of data that actually drives decisions, you need to tell your plugin what user interactions are important to you.
This is where the dataLayer becomes your most valuable asset. A good plugin will automatically push detailed event information—like a product being added to the cart or a form submission—into this structured data layer. From there, you can grab that raw data in Google Tag Manager and turn it into meaningful events for your analytics tools.
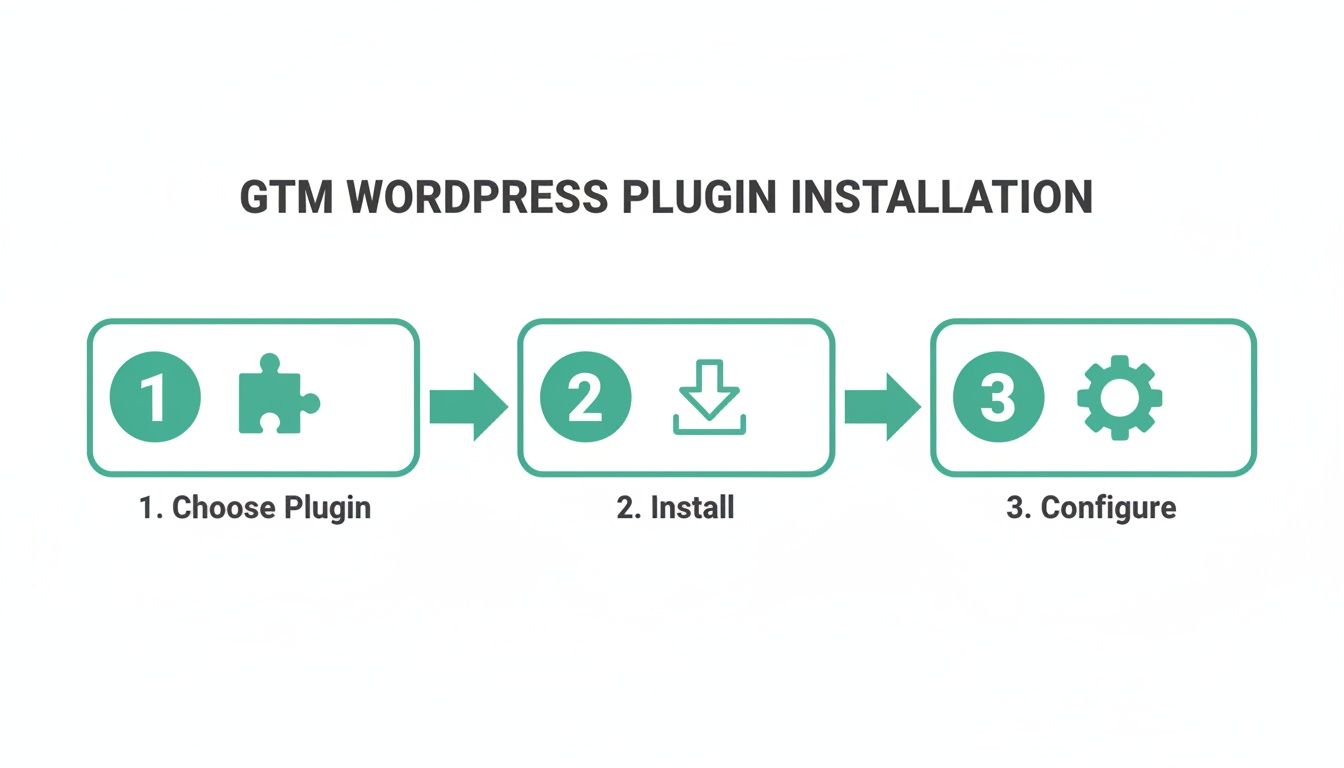
The graphic above keeps it simple, but don't underestimate that final "Configure" step. That's where you turn a basic installation into a powerful data collection engine.
Capturing Core User Interactions
Most quality GTM plugins, like the popular GTM4WP, come with built-in integrations that make tracking common events surprisingly easy. You can enable many of these features right from the plugin’s settings without writing a single line of code.
Start by heading to Settings > Google Tag Manager > General in your WordPress dashboard. You'll find a few simple checkboxes that unlock some powerful foundational tracking.
- Scroll Tracking: Toggle this on to fire an event when a user scrolls 25%, 50%, 75%, and 100% down a page. It's a fantastic way to measure how engaging your content really is.
- Media Actions: If you have YouTube or Vimeo videos embedded on your site, this setting can automatically track plays, pauses, and completion rates.
These settings give you a solid baseline for understanding user behavior beyond just pageviews. But for the data that directly impacts your bottom line, you’ll need to explore the specific integrations.
Tracking High-Value WooCommerce Events
For any e-commerce site, tracking the entire customer journey is non-negotiable. The GTM4WP plugin really shines with its deep WooCommerce integration. To get started, navigate to the Integrations > WooCommerce tab in the plugin settings and simply enable "Track enhanced e-commerce."
Once that’s active, the plugin starts pushing a ton of e-commerce data straight to the dataLayer. You’ll be able to capture crucial events like:
- Product Impressions: When a product is viewed on a category or shop page.
- Product Clicks: When a user clicks a product to see its detail page.
add_to_cartEvents: Captures the product SKU, name, price, and quantity when a user adds an item to their cart.purchaseEvents: Fires on the order confirmation page, sending complete transaction data including the order ID, revenue, tax, and shipping details.
With this integration active, all you need to do is set up corresponding triggers and tags in GTM. For instance, you can create a Custom Event trigger for "add_to_cart" and fire a GA4 event tag that pulls the dynamic product data directly from the dataLayer.
This one feature completely removes the need for the complex custom coding that used to be required, giving you a full, clear picture of your sales funnel.
Tracking Leads From Contact Forms
Running a lead generation site? Tracking form submissions is every bit as important as tracking purchases. While many form plugins have their own GTM integrations, GTM4WP offers a generic solution that often just works.
Under the Integrations tab, you’ll see options for popular form plugins like Contact Form 7 and WPForms. Enabling the corresponding integration will automatically push an event like gtm4wp.contactForm7.submit to the dataLayer after a successful submission.
If your form plugin isn't on the list, don't panic. A common fallback is to trigger on the form's unique CSS ID or class, but that can be fragile and break if you redesign your site. A much better approach is to use GTM's built-in "Form Submission" trigger, but configure it to listen for the confirmation message that appears after a successful submission.
For a great visual breakdown of how your site's dataLayer, GTM, and your analytics tools all work together, check out this video from the Trackingplan team.
Really understanding this data flow is the key to effective debugging and ensuring your data is always accurate.
Verifying Your Events In Preview Mode
Never, ever assume your tracking is working. Always, always use GTM's Preview mode to confirm that your triggers are firing correctly and the dataLayer contains the exact information you expect.
When you test an action on your site, like adding an item to the cart, you should see the add_to_cart event pop up in the Tag Assistant summary on the left. Click on it, then select the Data Layer tab. Here, you need to confirm that all the product details—like item_name, item_id, and price—are present and accurate.
This final check is what separates messy data from reliable insights. It’s the step that ensures the data flowing into Google Analytics is clean, trustworthy, and ready for analysis.
Ensuring Data Quality With Automated Monitoring
So, you’ve got your GTM setup live. Tags are firing, and data is hitting your analytics platforms. Great. But is any of that data actually correct? This is the part of the process where most teams drop the ball, and it’s where quality assurance becomes a make-or-break activity. Just poking around in GTM’s Preview mode isn’t going to cut it for a live, breathing website.
Relying on manual spot-checks is a recipe for disaster. They’re slow, boring, and it's way too easy to miss something. All it takes is a small theme update, a plugin change, or a new feature deployment to silently shatter your entire tracking setup. You might not even notice the damage for weeks—or months—until you’re staring at a report with a mysterious drop in conversions or skewed revenue. By then, it’s too late. This is exactly why you need an automated safety net.
The Problem With Manual Debugging
Here’s a classic scenario I’ve seen countless times: your dev team pushes a minor theme update that changes the CSS class on your "Add to Cart" buttons. Just like that, the custom dataLayer event you built for it stops firing. Now your WooCommerce transaction data has a huge hole in the funnel, and you have no idea where users are dropping off.
Without automated monitoring, you’re flying blind. You'll probably only find the problem when the monthly reports look funky, which kicks off a frantic scramble to dig through old data and figure out when things went wrong. It's a reactive mess that costs time, money, and everyone's trust in the data.
The real issue with manual QA is that it’s just a snapshot in time. Your website, on the other hand, is always changing. You need a system that watches your analytics continuously, not just when you happen to remember to check.
This is precisely where an automated platform like Trackingplan becomes your best friend. Instead of you hunting for errors, the errors come find you.
How Automated Monitoring Works
Think of automated monitoring tools as a 24/7 security guard for your entire analytics implementation. Trackingplan, for instance, plugs into your site and keeps a constant eye on the data flowing from your GTM WordPress plugin to all your marketing and analytics tools.
It automatically discovers every single event, property, and pixel, essentially building a living, always-current map of your tracking. From that point on, it just watches for anything that deviates from that baseline. This adds a layer of observability that most teams are desperately missing. If you want to dive deeper into this concept, check out our post on how to enhance data observability with Trackingplan and Google Tag Manager.
Even battle-tested plugins like Google Tag Manager for WordPress (GTM4WP), which run on hundreds of thousands of sites, hide a serious risk. As you can see on WebTechSurvey, its usage is spread across 10+ different versions. This fragmentation means some sites miss crucial updates for things like iOS privacy or server-side tagging, leading to 20-25% data loss in attribution. Rogue events or consent errors sneak through, contributing to the 15% in wasted ad spend seen across the industry. This is where Trackingplan steps in, monitoring your GTM4WP setup end-to-end and sending alerts on Slack the moment it sees a schema mismatch or a PII leak.
From Alert To Resolution In Minutes
Let's go back to that broken add_to_cart event. With an automated system watching your back, the entire workflow changes.
- Immediate Detection: The second that faulty theme update goes live, Trackingplan notices the
add_to_cartevent schema is wrong or, worse, the event has vanished completely. - Real-Time Alert: You get a Slack or email notification spelling out the exact problem—what broke, where it broke, and what the data should have looked like.
- Rapid Resolution: Armed with this hyper-specific info, your developer can find and fix the problem in minutes, not weeks.
This proactive approach turns analytics QA from a stressful fire drill into a calm, managed process. It keeps your data trustworthy, your dashboards grounded in reality, and your marketing budget based on accurate numbers. By bringing in automated monitoring, you’re protecting the investment you made setting up your GTM WordPress plugin and the rest of your analytics stack in the first place.
Navigating Privacy And Consent Compliance

In today's regulatory climate, simply installing a GTM WordPress plugin and firing tags just isn't an option anymore. Privacy laws like GDPR and CCPA are non-negotiable: you have to respect user choices. This means you can only activate tracking scripts after getting explicit consent. Dropping the ball here can lead to massive fines and, just as bad, a real loss of customer trust.
The real trick is making your tag management system "consent-aware." Your GTM container has to listen for signals from your Consent Management Platform (CMP) and then act accordingly. This is the only way to make sure your analytics, marketing, and advertising tags stay quiet until a user gives you the green light.
Integrating Consent Mode With Your GTM Plugin
Thankfully, a solid plugin like GTM4WP makes this whole process much less of a headache. It comes with built-in support for Google's Consent Mode, which really acts as the central hub for your entire compliance strategy. When a user clicks on your cookie banner, the CMP sends their choices—like analytics_storage: 'granted' or ad_storage: 'denied'—straight to the dataLayer.
GTM4WP is designed to pick up on this communication, letting you configure Google Tag Manager to honor these signals. From there, you just need to set the right consent checks inside GTM itself.
- Google Tags: For native tools like GA4 or Google Ads, you can use the built-in consent checks. You simply tell the tags they need "analytics_storage" or "ad_storage" permissions before they can fire.
- Other Marketing Tags: For pixels from Meta, TikTok, or other ad platforms, you can use the user's consent status as a condition in your GTM triggers.
With this setup, your site will strictly follow user preferences, firing only the tags that have been explicitly approved. You can get a much deeper look into how these systems fit together in our guide on what consent management is.
The Governance Layer Your DPO Needs
Getting Consent Mode set up is a huge step, but it’s definitely not a "set it and forget it" task. How can you be 100% sure a rogue tag isn't firing before consent is ever granted? Or that a developer doesn't accidentally push a change that leaks personally identifiable information (PII)?
Manually auditing for consent violations is nearly impossible at scale. A single website update could inadvertently cause a tag to fire pre-consent, creating a significant compliance breach that you won't discover until it's too late.
This is exactly where automated governance tools like Trackingplan come in. It adds an essential layer of oversight that constantly scans your entire implementation—including all the tags firing through your GTM WordPress plugin—and keeps an eye out for two major privacy risks:
- Pre-Consent Firing: It immediately flags any tag that activates before a user has given their permission, giving your data privacy officer (DPO) instant visibility into compliance gaps.
- PII Leaks: The platform continuously monitors for sensitive data like email addresses or phone numbers being sent to third-party tools, preventing accidental data breaches before they become a real problem.
This kind of constant vigilance provides the proof of compliance that modern businesses absolutely need. GTM4WP is a powerhouse with a massive global footprint, running on 291,770 sites and holding a 2.3% share of the WordPress plugin market. Even huge names like universalmusic.com rely on it.
But that scale also reveals a risk: with that many installations, studies show up to 35% of GTM containers are suffering from misconfigurations. You can see more insights about the plugin's widespread use and what it means for data teams on WMTIPS.com. For any business using this incredibly powerful plugin, automated monitoring isn't just a nice-to-have; it's the only realistic way to protect your data, your customers, and your bottom line.
Common Questions About GTM WordPress Plugins
Even with the best guides, questions are bound to pop up when you're working with a GTM WordPress plugin. These tools are powerful, but their flexibility can sometimes lead to tricky situations. Let’s dive into some of the most common hurdles I see users run into during setup and maintenance.
Getting a handle on these frequent sticking points can save you hours of headaches and help you build a much more reliable tracking implementation from day one.
Can I Use A GTM WordPress Plugin With Other Analytics Plugins
You can, but you have to be extremely careful. Running multiple analytics plugins at the same time—like the official Site Kit by Google alongside a tool like GTM4WP—is one of the fastest ways to start double-counting your data. If both plugins are firing a GA4 pageview tag, you'll suddenly see inflated user counts and a bounce rate that’s close to zero. It creates a real mess in your reports.
The best practice is to centralize everything within Google Tag Manager. Think of your GTM WordPress plugin as the single gateway for all your tracking scripts, whether it’s GA4, the Meta Pixel, or anything else. This gives you one dashboard to control it all.
If you absolutely must use another plugin for a specific feature, like Site Kit's dashboard widgets, make sure you go into its settings and disable its own tracking modules. In that scenario, you'd turn off Site Kit's Google Analytics module and manage your GA4 tag strictly through GTM. This is the only way to maintain a single source of truth for your data.
A dedicated monitoring tool can be a lifesaver here. It can automatically spot conflicting scripts and data duplication issues, alerting you to problems you might not even know you have. This prevents you from making critical business decisions based on faulty, double-counted data.
Why Are My Events Not Showing In GTM Preview Mode
This is probably the single most common frustration I hear about. You’ve set up an event, you go to your site to test it, and... radio silence in the GTM Preview panel. It's frustrating, but it's usually one of a few usual suspects.
Nine times out of ten, the culprit is caching. Your WordPress caching plugin (like WP Rocket or W3 Total Cache) or even your hosting provider's server-side cache is probably serving an old, saved version of the page that doesn't include your latest GTM changes.
To sort this out, you need to:
- Purge All Caches: Go into your caching plugin's settings and clear everything. Do the same if your host has a caching layer you can control.
- Test in Incognito: Always use an incognito or private browser window when you test. This forces the browser to fetch a fresh version of the site, bypassing most local cache issues.
If that doesn't do the trick, check for JavaScript errors. Open your browser's developer console (F12 on most browsers, or Option+Cmd+J on Mac) and click over to the "Console" tab. A JS error, often from an unrelated plugin or your theme, can stop all other scripts from running—including GTM. Lastly, it’s worth double-checking that your GTM Container ID in the plugin settings is perfect, with no typos or extra spaces.
How Does This Plugin Help With Server-Side Tagging
A good GTM WordPress plugin is a foundational piece for moving to server-side tagging (s-GTM). Shifting your tracking from the user's browser to a secure server container that you control is a game-changer for performance, data accuracy, and privacy.
The plugin is what makes this transition possible. Instead of sending data directly from the browser to vendors like Google and Meta, you can configure the plugin to route everything to your own server-side GTM endpoint first. A plugin like GTM4WP, for instance, has a specific field where you can input your server container's URL.
This unlocks some major benefits:
- Improve Site Speed: You’re drastically reducing the number of third-party scripts running in the browser, which can have a huge positive impact on your Core Web Vitals.
- Increase Data Durability: Server-side tracking makes your data collection more resilient to ad blockers and browser-level privacy measures like Apple's ITP (Intelligent Tracking Prevention).
- Enhance Data Control: You get to inspect, clean, or even add data on your own server before you forward it to any third-party destination. You control what vendors see.
Essentially, the WordPress plugin handles structuring the dataLayer and provides the toggle that lets you change the data’s final destination from the client's browser to your own server. It's the critical first step for any server-side implementation.
By automating analytics QA with Trackingplan, you can stop worrying about silent data loss and start trusting your numbers. Get real-time alerts on tracking errors and ensure every marketing dollar is spent effectively. Discover how Trackingplan can safeguard your data integrity today.